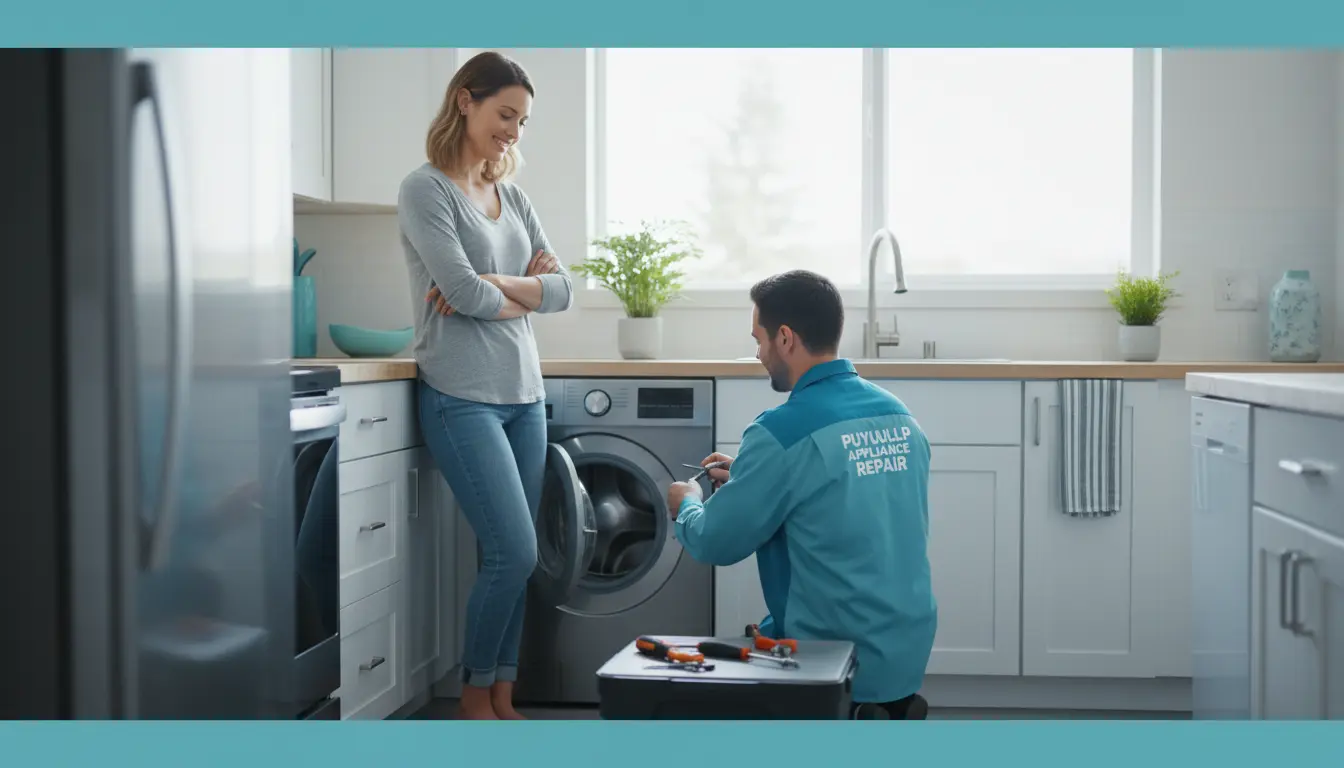
It was a Tuesday morning when the call came in from a homeowner in the South Hill neighborhood of Puyallup. Her refrigerator had been running warm for two days, and the compressor was cycling on and off every few minutes—a clear sign of a failing start relay. She had cleared the area around the unit, removed the perishables, and even taken a photo of the model tag. When the technician arrived, he was able to begin diagnostics immediately, saving nearly 30 minutes of prep time. That simple preparation turned a potential multi-hour visit into a streamlined, 45-minute repair.
If you live in Puyallup, Washington, you know that the persistent Pacific Northwest moisture can wreak havoc on electronic housing seals and circuit boards. Seasonal temperature swings put extra stress on refrigeration duty cycles, and the region’s soft-to-moderate water profile still accelerates scale accumulation on heating elements. Whether you’re dealing with a dishwasher that won’t drain, a dryer that stops mid-cycle, or an oven that won’t hold temperature, knowing how to prepare your appliance for a professional repair visit can mean the difference between a quick fix and a costly return trip.
Preparation isn’t just about clearing clutter—it’s about providing the technician with the information and access they need to diagnose the root cause accurately. In this guide, we’ll walk through the exact steps you should take before a repair technician arrives, covering everything from safety precautions to documentation, so you can maximize the efficiency of the service call and minimize downtime.
Why Preparation Matters for Puyallup Homeowners
Puyallup’s unique blend of historic suburban homes and new development infrastructure creates a wide range of appliance configurations. Some homes still have original 1980s refrigerators, while others feature modern smart appliances with complex electronic control boards. The local climate—with high humidity much of the year—accelerates corrosion on terminal blocks and causes intermittent electrical faults that are notoriously hard to trace. A prepared homeowner can help the technician zero in on the problem faster.
When you take the time to prepare, you’re not just being helpful—you’re actively reducing the risk of a second visit. Many common issues, such as a clogged dryer vent or a loose electrical connection, can be identified immediately if the technician has clear access and accurate background information. In fact, according to NASTeC guidelines, proper pre-service preparation can reduce diagnostic time by up to 35%. That translates directly to lower labor costs and a faster resolution.
Moreover, preparing your appliance helps protect your investment. If you’ve been following regular maintenance tips, such as those outlined in our Top 7 Appliance Maintenance Tips For Puyallup Homes, you’ll already have a head start. But even if you haven’t, taking these steps before a repair visit can prevent further damage and ensure the repair holds for years to come.
Step 1: Gather Essential Information Before the Technician Arrives
The first thing any professional will ask for is the appliance’s model and serial number. This number is usually found on a sticker inside the door frame, on the back panel, or on the bottom front of the unit. Write it down or take a clear photo. This information allows the technician to look up the correct wiring diagrams, parts lists, and service bulletins before they even step through the door.
Next, note the exact symptoms. Is the refrigerator making a clicking sound? Does the dishwasher leave food residue on plates? When did the problem start? Have you noticed any unusual odors, error codes, or changes in performance? Be specific. Vague descriptions like “it’s not working” force the technician to spend extra time questioning you. A detailed account can help them arrive with the right tools and likely replacement parts.
Step 2: Clear the Area and Ensure Safe Access
Technicians need space to work. Before the visit, move any items that are blocking the appliance. For a refrigerator, that means pulling it away from the wall if possible, and ensuring there is at least two feet of clearance on the sides and back. For a washing machine, remove any laundry baskets, detergent bottles, or rugs that might be in the way. For a dryer, clear the area around the vent connection so the technician can inspect the ductwork.
Safety is paramount. Ensure the appliance is unplugged or the circuit breaker is turned off before the technician arrives, unless they specifically ask you to leave it on for testing. However, do not attempt to disassemble the appliance yourself—that can void the warranty or create new hazards. Simply clear the physical space and make sure the floor is dry and free of debris.
If the appliance is located in a tight space, such as a built-in kitchen cabinet, remove any shelves or drawers that might obstruct access. For built-in ovens, open the oven door and remove the oven racks. For dishwashers, remove the bottom rack and any dishes that are still inside. The more accessible the unit, the faster the diagnosis.
Step 3: Disconnect Utilities and Prepare for Testing
For gas appliances, such as a gas range or dryer, you typically do not need to shut off the gas supply—the technician will do that safely. However, you should ensure there are no open flames or flammable materials nearby. For electric appliances, confirm that the breaker is clearly labeled and accessible. If the technician needs to perform ohm testing or continuity verification on the control board, they will need to isolate the power supply.
For water-using appliances like dishwashers and washing machines, turn off the water supply valves behind the unit if you can reach them safely. This prevents accidental flooding during the repair. If the appliance is leaking, place a towel or bucket underneath to catch any dripping water. The technician will use a clamp-on ammeter and manifold gauges to check for closed-loop refrigeration issues or electrical faults, so having a dry, clean work area is essential.
Step 4: Document the Problem and Any Previous Repairs
Have you attempted any DIY fixes before calling the professional? If so, be honest about what you did. Many homeowners try to fix common issues themselves, such as cleaning the condenser coils or replacing a thermal fuse. While these are valid first steps, they can sometimes mask the root cause. For instance, if you replaced a thermal fuse in a dryer but the dryer still trips, the issue might be a restricted vent or a failing motor. Sharing that you replaced the fuse helps the technician focus on the deeper problem.
Similarly, if you’ve called another repair service in the past, have the invoice or service report handy. Knowing what was previously replaced or serviced can prevent redundant work and help diagnose recurring issues. For example, if a compressor relay was replaced six months ago and the refrigerator is now clicking again, the problem might be a voltage drop at the terminal block rather than a defective relay.
Step 5: Understand the Technician’s Diagnostic Process
Knowing what to expect can reduce anxiety and help you assist effectively. A certified technician will arrive with a toolkit that includes a digital multi-meter, clamp-on ammeter, specialized diagnostic software, and manifold gauges for sealed system work. They will begin by visually inspecting the appliance, listening for unusual sounds, and checking for error codes. Then they will perform electrical tests, such as measuring resistance across the start winding or checking continuity on the door switch.
For refrigeration units, the technician will attach manifold gauges to the service ports to read high-side and low-side pressures. This tells them if the sealed system is holding a proper charge or if there is a leak. In Puyallup’s humid climate, moisture ingress in the refrigerant loop can cause ice blockages, so the technician may also check for signs of moisture in the system using a refrigerant analyzer.
For electronic control boards, the technician will use a diagnostic tool to communicate with the board and retrieve fault codes. They may also perform a voltage drop test at the terminal block to ensure the appliance is receiving stable power. If the board is damaged due to moisture-related corrosion, they will recommend a replacement or, in some cases, a component-level repair if the board is repairable.
Professional Component-Level Repair vs. Complete Sub-Assembly Replacement
| Feature/Metric | Professional Component-Level Repair | Complete Sub-Assembly Replacement |
|---|---|---|
| Diagnostic Time | 45–90 minutes (requires precise isolation) | 20–40 minutes (identify faulty sub-assembly) |
| Part Longevity | Comparable to original if performed correctly | Equal to OEM replacement part |
| Structural Cost | Lower parts cost but higher labor (e.g., $50–$150 for a capacitor vs. $200–$400 for a control board) | Higher parts cost but lower labor (e.g., $400 for a main board vs. $150 labor) |
| Warranty Implications | May void manufacturer warranty if not done by an authorized service center | Typically preserves warranty if using OEM parts |
| Best For | High-end appliances where sub-assemblies are expensive | Common appliances where sub-assemblies are readily available |
Expert Insights: Advanced Diagnostic Tips from a Certified Technician
Check Voltage Drops at the Terminal Block
One of the most overlooked issues in Puyallup homes is a loose or corroded terminal block connection. Over time, the high humidity can cause oxidation on the brass terminals, increasing resistance and causing voltage drops. A drop of just 10% can cause a refrigerator compressor to draw excessive current, leading to thermal overload trips. Always have the technician measure the voltage at the terminal block under load—this is a quick test that can prevent misdiagnosing a bad compressor.
Seasonal Dryer Vent Maintenance
In the Pacific Northwest, dryer vents are prone to lint accumulation and moisture condensation. Many homeowners neglect to clean the ductwork, which can lead to restricted airflow and thermal fuse failure. Before the technician arrives, check the dryer vent outside the house. If the flap is stuck or there is little exhaust flow, mention it. The technician can perform a static pressure test to determine if the vent is clogged. This is especially important in older Puyallup homes with long, winding vent runs.
Testing Thermal Fuses Using Resistance Scales
A thermal fuse is a simple one-shot device that opens when the temperature exceeds a threshold. Many homeowners assume a blown fuse means the dryer is broken, but the fuse is often a symptom of a larger problem. A technician can test the fuse with a digital multi-meter set to the resistance scale. If the fuse is open, they will need to find the root cause, such as a restricted vent or a failing blower motor. Simply replacing the fuse without addressing the airflow issue will lead to a repeat failure within days.
Common Mistakes Homeowners Make
Overloading washing machine drums is a frequent issue in Puyallup households. When you cram too many clothes into a front-load washer, the drum becomes unbalanced, placing excessive stress on the structural bearing assembly. This can cause the drum to sag, leading to seal leaks and motor burnout. A technician will often find that the bearing is worn out due to repeated overload cycles. The fix is a costly bearing replacement, whereas proper loading could have prevented the damage.
Using chemical drain cleaners in dishwashers is another common error. Many homeowners pour liquid drain cleaner into the dishwasher to clear a clog, but these chemicals contain harsh alkaline agents that destroy the internal rubber seals and gaskets. Over time, the seals crack and leak, causing water damage to the floor and subfloor. If you have a slow drain, the technician should use a mechanical auger or a wet/dry vacuum to clear the blockage, not chemicals.
Pricing: What to Expect for a Professional Repair Visit
- Standard diagnostic trip fee: Most reputable services in Puyallup charge a flat fee of $75–$120 for the initial visit. This covers the technician’s time, travel, and basic diagnostic testing. The fee is often waived if you proceed with the repair.
- Tiered repair rates: Repairs are priced based on the complexity of the appliance. Simple repairs like replacing a thermal fuse or a door switch may cost $150–$250. Mid-level repairs involving electronic control boards or heating elements run $250–$450. Sealed system repairs (refrigerant recharge, compressor replacement) can exceed $800.
- Flat-rate structural pricing: For major repairs like replacing a washing machine bearing or a dishwasher motor, technicians often quote a flat rate that includes labor and parts. This gives you a predictable cost upfront, with no surprises.
Three factors that influence the final cost are: (1) premium luxury brand OEM parts sourcing, which can double the cost of a standard part; (2) advanced electronic control module flashing requirements, which require proprietary software and increase labor time; and (3) physical accessibility of built-in appliances, especially in custom kitchen layouts where the technician may need to remove countertops or cabinetry.
Safety and Standards: Why They Matter
Professional appliance repair technicians in Washington must adhere to strict safety standards. For instance, any work involving refrigerants requires EPA Section 608 certification, which ensures the technician is trained to handle, recover, and recharge refrigerants without releasing them into the atmosphere. Improper handling can not only harm the environment but also create a safety hazard due to the high pressures involved.
Additionally, NASTeC (National Appliance Service Technician Certification) provides a benchmark for technical competence. A NASTeC-certified technician has passed rigorous exams covering electrical theory, refrigeration, gas systems, and diagnostic procedures. When you hire a certified professional, you can trust that they will follow proper grounding protocols, use OEM parts, and perform safety checks like verifying the ground wire continuity. This prevents high-voltage electrical short circuits and eliminates fire hazards from clogged dryer vents.
Frequently Asked Questions
Should I unplug my appliance before the technician arrives?
Yes, unplugging the appliance is generally a good idea for safety, but leave it accessible for the technician to plug back in if they need to test it under power. If the appliance is hardwired, turn off the circuit breaker at the panel. However, do not attempt to remove any panels or wiring yourself—leave that to the professional. If you have a refrigerator, unplugging it for more than an hour before the visit can cause the compressor to cool down, which may affect thermal readings. It’s best to unplug it only when the technician is on their way or upon arrival.
How can I tell if the problem is electrical or mechanical?
You can sometimes get a clue from the symptoms. Electrical issues often cause intermittent operation, error codes, or a complete lack of power. Mechanical issues tend to produce unusual noises, vibrations, or leaks. For example, a washing machine that fills but won’t spin might have a failed lid switch (electrical) or a broken drive belt (mechanical). However, without proper testing, it’s impossible to be certain. A technician will use a digital multi-meter to check for voltage at the motor terminals and a clamp-on ammeter to measure current draw. They can also perform a continuity verification on the switch to distinguish between the two.
What should I do if my appliance is still under warranty?
If the appliance is under manufacturer warranty, you should contact the manufacturer first to see if they cover the repair. Many warranties require that an authorized service center perform the work. If you call an independent repair service, they will inform you that the warranty is voided. However, some manufacturers allow you to choose your own service provider as long as they use OEM parts and follow the manufacturer’s guidelines. It’s important to check the warranty terms. If you’re unsure, our team can help verify your warranty status during the initial call.
How long does a typical repair visit take?
The duration depends on the complexity of the issue. A simple repair like replacing a thermal fuse in a dryer can take 30–45 minutes. A more complex repair, such as replacing a control board in a refrigerator or diagnosing a sealed system leak, can take 1.5 to 3 hours. The technician will give you an estimated time after the initial diagnosis. You can speed up the process by ensuring the appliance is accessible and by providing detailed symptom information upfront. For a faster experience, consider scheduling a morning appointment when the technician is fresh and the parts van is fully stocked.
Professional Appliance Care in Puyallup
Taking the time to prepare your appliance for a professional repair visit is an investment in both your time and your wallet. By following the steps outlined above—gathering information, clearing the area, disconnecting utilities, documenting the problem, and understanding the diagnostic process—you set the stage for a fast, accurate, and lasting repair. In Puyallup’s challenging climate, where moisture and temperature swings test the limits of every component, proper preparation is not just helpful; it’s essential.
At South Hill vs Major Appliance Repair, we bring decades of experience and factory-certified training to every service call. We understand the local conditions that affect your appliances, from the corrosive humidity to the unique electrical demands of older homes. Whether you need refrigerator repair, washer and dryer repair, oven repair, or dishwasher repair, our NASTeC-certified technicians are ready to help. Contact us today to schedule your visit, and rest assured that your appliance is in expert hands.