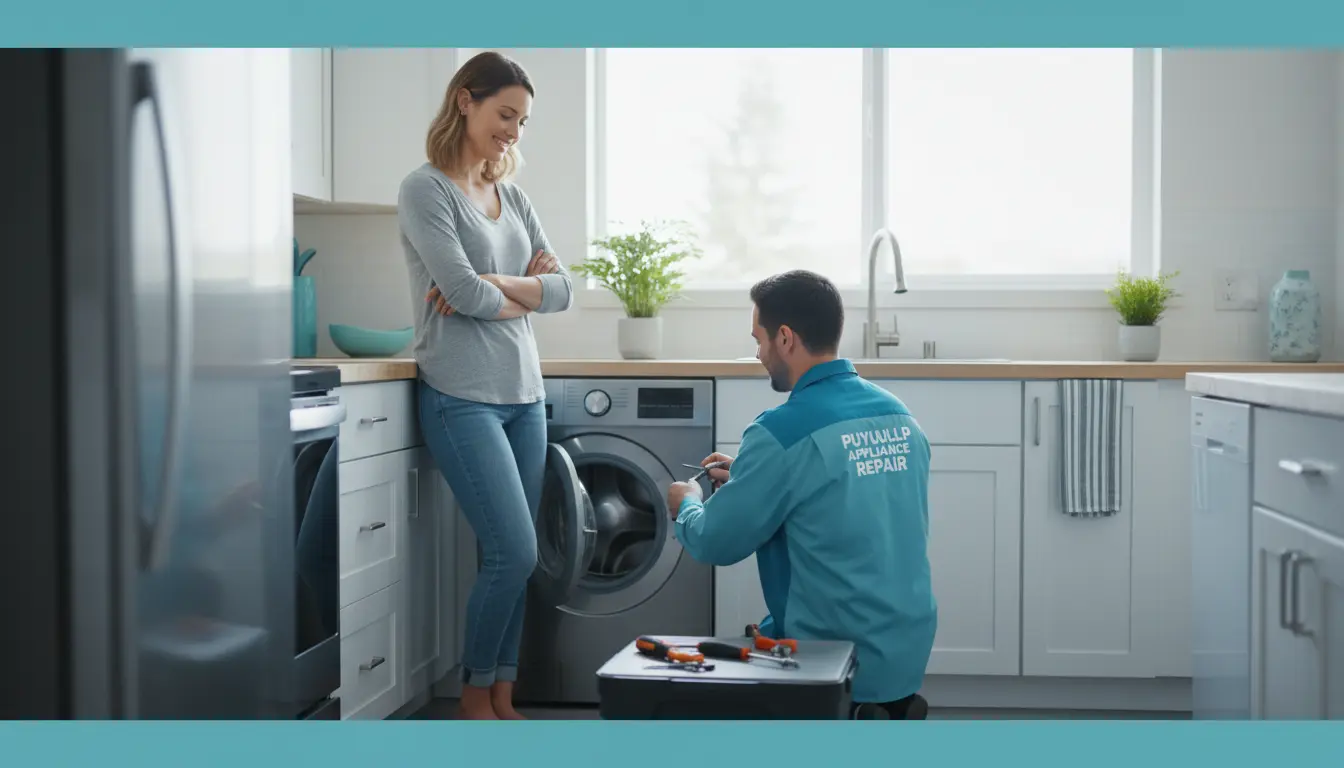
Mark pulled the dryer away from the wall, the faint burnt-dust smell already familiar. The homeowner in Puyallup’s South Hill neighborhood had described the problem plainly: the drum turned, the timer ran, but the clothes came out cold and damp after a full cycle. A quick listen confirmed the gas valve wasn’t clicking, and the exhaust air felt barely warmer than the room. This is the classic symptom of a dryer that spins but refuses to heat — a situation that frustrates residents especially during the damp Pacific Northwest winters when a working dryer is non-negotiable. In Puyallup, where moisture levels frequently hover above 70 percent, a non-heating dryer can turn a simple laundry day into a cascade of damp towels, musty odors, and delayed schedules. Understanding the root cause is the first step in a reliable, step-by-step guide to fixing common dryer heating issues.
Tools and Safety Preparation Before You Begin
Before touching any electrical component, you must disconnect the dryer from power. For gas dryers, shut off the gas supply valve as well. Standard safety includes wearing insulated gloves, using a digital multimeter with resistance (ohms) and voltage (AC) functions, and having a set of nut drivers, a screwdriver set, and a flashlight. Many dryer heating issues can be diagnosed with just a multimeter and a basic understanding of continuity. In Puyallup, where older homes often have ungrounded two-prong outlets, a voltage tester is essential to ensure the outlet is delivering the correct 120V or 240V, depending on your dryer model. A common mistake is assuming the outlet is fine because the dryer drum turns — but the motor runs on 120V, while the heating element requires 240V. A loose or burned neutral wire can kill the heating circuit while still allowing the motor to tumble. Always start at the wall outlet.
Step-by-Step Diagnostic Process for Dryer Heating Issues
Testing the Thermal Fuse and High-Limit Thermostat
The thermal fuse is a safety device that blows if the dryer overheats. It is typically located on the blower housing or near the exhaust duct. On a gas dryer, it looks like a small white plastic rectangle with two wires connected. Using your multimeter set to the resistance (ohms) scale, touch the probes to the two terminals. A reading of zero or near-zero indicates continuity — the fuse is good. A reading of infinite resistance (OL) means the fuse is blown. In many cases, a blown thermal fuse is the result of a clogged vent, not a defective fuse. If you replace the fuse without clearing the vent, it will blow again. In Puyallup’s humid climate, moisture can also cause slow corrosion at the fuse terminals, leading to intermittent failure. Check for any visible rust or discoloration. Replace the fuse with an exact OEM equivalent — never use a jumper wire, as that bypasses a critical safety circuit and can cause a fire.
Next, test the high-limit thermostat and the cycling thermostat. These are usually metal discs with two terminals. They function as temperature switches: the cycling thermostat opens and closes to maintain drum temperature, while the high-limit thermostat opens only if the dryer exceeds a safe temperature. Test them the same way as the thermal fuse — they should show continuity (low resistance) at room temperature. If either shows infinite resistance, it has failed open. In gas dryers, a failed thermostat can prevent the gas valve from opening. In electric dryers, it interrupts power to the heating element. Always test these components while they are cold, because some thermostats are normally closed and only open when hot. If you’re unsure, consult the dryer’s wiring diagram, which is usually printed on the back panel or inside the control console.
Checking the Heating Element (Electric Dryers) or Gas Valve Coils (Gas Dryers)
For electric dryers, the heating element is a coiled wire inside a metal housing. To test it, disconnect the wires and measure resistance across the two terminals. A typical heating element for a 240V dryer will read between 10 and 30 ohms. If it reads infinite resistance, the element is broken and must be replaced. Visual inspection can also reveal a break in the coil. However, even if the element looks intact, a multimeter test is necessary because the break may be hidden inside the ceramic insulator. In Puyallup, mineral deposits from hard water (even though the water is moderately soft) can accumulate on the element over time, causing hot spots that eventually melt the wire. This is a form of thermal degradation that accelerates failure. When replacing the heating element, always use a factory-authorized OEM part. Aftermarket elements often have different resistance values, leading to improper heating or shorter lifespan.
For gas dryers, the heating mechanism relies on a gas valve with two or three solenoid coils. These coils open the valve to allow gas flow when the thermostat calls for heat. To test the coils, measure resistance across each coil: typical readings are between 500 and 2000 ohms, depending on the coil. If any coil shows infinite resistance, it is open and must be replaced. Another common issue is a weak or burnt igniter. The igniter in a gas dryer should glow bright orange within seconds of the dryer starting. If it glows dimly or not at all, the igniter may be failing. Measure its resistance — it should be around 40 to 100 ohms. A failed igniter will prevent the gas from igniting, even if the valve opens. In Puyallup’s marine climate, igniters can corrode at the connection points, leading to intermittent failure. Always clean the flame sensor and igniter contacts with fine-grit sandpaper before condemning the part.
Verifying the Control Board and Wiring Harness
If all individual components test good, the problem may be in the electronic control board or the wiring harness. Moisture is a notorious enemy of control boards, especially in basements or laundry rooms with poor ventilation. In Puyallup, where humidity levels remain high year-round, condensation can form inside the control console, causing corrosion on solder joints and connectors. Look for any burnt spots, swollen capacitors, or discolored traces on the board. A continuity test of the wiring harness from the board to each component can reveal broken wires or loose terminals. Sometimes a simple reset — unplugging the dryer for 10 minutes — can restore function if the board has locked up due to a voltage spike. However, if the board is physically damaged, replacement is the only option. This is a job best left to a professional, as circuit board replacement requires careful handling and often reprogramming, especially on modern dryers with electronic interfaces.
Data Comparison: Component-Level Testing vs. Complete Assembly Replacement
| Feature/Metric | Component-Level Testing & Repair | Complete Sub-Assembly Replacement |
|---|---|---|
| Diagnostic Time | 45–90 minutes, requires systematic testing of each part | 15–30 minutes, simply remove and replace the entire heater assembly or gas valve unit |
| Part Longevity | New OEM component matches original lifespan (10–15 years typical) | Assembly lifespan is same as OEM part, but often includes unnecessary extra parts |
| Structural Cost | $20–$80 for individual component (thermal fuse, thermostat, element, or coil) | $150–$400 for a complete heater box or gas valve assembly |
| Skill Level Required | Intermediate: requires multimeter, wiring diagram, and careful disassembly | Intermediate: more mechanical than electrical, but may require special tools for gas lines |
| Risk of Further Damage | Lower if you test correctly; misdiagnosis can waste time but rarely causes new damage | Higher if you disturb other connections or over-tighten gas fittings |
Expert Insights: Advanced Tips for Puyallup Homeowners
Voltage Drop at the Terminal Block
Many electric dryer heating issues stem from a voltage drop at the terminal block where the power cord connects to the dryer. Over time, the terminal screws can loosen, creating a high-resistance connection that drops voltage under load. This causes the heating element to receive less than 240V, resulting in slow heating or no heat at all. With a multimeter set to AC voltage, measure between the two hot terminals (L1 and L2) while the dryer is running — you should see 240V ± 10%. If the voltage drops below 220V, the connection is faulty. Tighten the terminal screws and inspect the wire ends for burning. In Puyallup, older homes may have aluminum wiring, which is prone to expansion and loosening. This is a fire hazard and should be addressed by a licensed electrician.
Seasonal Dryer Vent Maintenance
Dryer vent performance changes with the seasons. In the winter, cold air outside can cause condensation inside the vent, which traps lint and accelerates blockage. In the summer, high humidity can cause the lint to clump. A professional dryer vent cleaning every six months is recommended, especially in Puyallup where the weather is mild but damp. Even if the dryer is heating, a restricted vent forces the dryer to run longer, wasting energy and stressing the thermal components. Our dryer vent cleaning service includes a thorough inspection of the entire vent path, including the roof cap, and a blower test to measure cubic feet per minute of airflow. This proactive step alone can prevent many heating issues from recurring.
Testing Thermal Fuses Using Resistance Scales
A common mistake is testing a thermal fuse while it is still warm. After a failed cycle, the fuse may have cooled down, but if it is a thermal cut-off that resets automatically, it might show continuity even if it was open during operation. Always test the fuse before running the dryer again. Also, note that some dryers have multiple thermal fuses: one on the blower housing and one on the heating element housing. Check both. If the fuse on the blower housing is blown, the vent is likely blocked. If the fuse on the element housing is blown, the element itself may be shorted or the thermostat may have failed. Use the continuity test in conjunction with a visual inspection of the vent to avoid misdiagnosis.
Common Mistakes Homeowners Make
One of the most frequent errors is overloading the dryer. When the drum is packed too full, air cannot circulate properly, causing the heating element to overheat and trip the thermal fuse. This is especially common in large households in Puyallup where laundry piles up quickly. Another mistake is using chemical drain cleaners in the washing machine — residue can transfer to the dryer and damage heating elements. A third error is ignoring the clicking sound of a refrigerator compressor relay — it’s a sign of a failing start relay, but the same principle applies to dryers: if you hear unusual clicking from the control board, it may indicate a relay stuck open or closed, which can lead to a non-heating condition. Ignoring it can result in a total control board short-circuit, costing hundreds to replace.
Pricing for Common Dryer Heating Repairs in Puyallup
- Diagnostic fee: $75–$125, typically applied to the repair if you proceed. This covers a thorough inspection of the heating circuit, airflow, and electrical connections.
- Thermal fuse replacement: $100–$180, including the part ($10–$25) and labor. If the vent is severely clogged, additional charges for cleaning may apply.
- Heating element replacement (electric dryers): $200–$350, parts $40–$80, labor $150–$250. The cost varies based on access difficulty; some dryers require removing the entire drum.
- Gas valve coil replacement: $150–$250, parts $30–$60, labor $120–$190. Gas work requires special care and proper leak testing.
- Control board replacement: $300–$600, parts $150–$350, labor $150–$250. Some boards need to be programmed or matched to the dryer model.
Safety and Standards for Dryer Repairs
Every appliance repair in Puyallup should adhere to strict safety protocols. For electrical dryers, the National Electrical Code (NEC) mandates proper grounding and a dedicated 30-amp circuit. A common safety violation is using a 3-prong cord in a 4-prong receptacle, or vice versa, which can leave the dryer chassis ungrounded. In Puyallup, many older homes still have ungrounded outlets, and homeowners sometimes install a 3-to-2 prong adapter — a dangerous practice that can lead to electrocution. All repairs must use factory-authorized OEM replacement parts to maintain UL/CSA certification. Using aftermarket parts can void the warranty and create fire risks. For gas dryers, a certified technician must check for gas leaks with a manometer after any valve work. We follow NASTeC guidelines and EPA Section 608 (for refrigerant-related appliances, but the same discipline applies to gas systems). Our technicians are trained in OSHA electrical safety, including lockout/tagout procedures when handling high-voltage components. The importance of these standards becomes clear when you consider that a single loose wire or a bypassed thermal fuse can cause a house fire. In Puyallup, where many homes are close together, a dryer fire can spread quickly. Professional repair ensures that every safety device is intact and functional.
Frequently Asked Questions About Dryer Heating Issues
Why does my dryer tumble but not heat up?
This is usually caused by a failed heating component or a safety device that has opened. The most common culprits are a blown thermal fuse, a failed heating element (in electric dryers), or a defective gas valve coil (in gas dryers). A restricted vent can also cause the thermal fuse to blow. Start by checking the vent for blockage, then test the thermal fuse, thermostats, and element/coils with a multimeter. If you are not comfortable testing live circuits, call a professional. In Puyallup, we see many cases where the thermal fuse blows due to lint buildup in the vent, so cleaning the vent often resolves the issue without replacing any parts.
Can a clogged dryer vent cause no heat?
Yes, indirectly. A clogged vent prevents hot air from exiting, causing the dryer to overheat. The high-limit thermostat or thermal fuse will open to stop the heating cycle, often before the dryer feels hot. This is a safety mechanism to prevent fire. Once the vent is cleaned and the safety device cools down or is replaced, the dryer will heat again. Never bypass the thermal fuse. In Puyallup, because of the moist climate, lint inside vents can become damp and matted, creating a more stubborn blockage. Professional vent cleaning is the most effective solution.
How do I know if my dryer’s heating element is bad?
Use a multimeter set to ohms (resistance). Disconnect the wires from the heating element terminals and measure across the two terminals. A good element typically reads between 10 and 30 ohms. If the reading is infinite (OL), the element is broken and must be replaced. Visual inspection can also reveal a break in the coiled wire. In Puyallup, hard water minerals can accelerate corrosion, so even if the element looks intact, test it. Also check for continuity between the element terminals and the metal housing — any reading indicates a short to ground, which requires replacement.
Is it worth repairing an old dryer that doesn’t heat?
It depends on the age and the cost of the repair. If the dryer is less than 10 years old and the repair cost is under $400, it is usually worth fixing. For a gas dryer, the repair cost is often lower. However, if the main control board is dead or the motor is failing, it may be more economical to replace the unit. Also consider the availability of parts; older models may have discontinued components. A professional can provide a cost-benefit analysis. In Puyallup, many homeowners choose to repair because the labor rates are reasonable and a quality repair can extend the dryer’s life by several more years.
Can I replace a dryer thermal fuse myself?
Yes, if you have basic tools and a multimeter. The thermal fuse is usually easy to access on the blower housing. However, you must also address the reason it blew — typically a clogged vent. Simply replacing the fuse without cleaning the vent will cause it to blow again. If you are not confident in diagnosing the root cause, or if the dryer is gas, it is safer to call a professional. In Puyallup, we recommend having a vent cleaning done at the same time to ensure the repair lasts.
Professional Appliance Care in Puyallup
Maintaining a high-efficiency dryer is not just about fixing a heating issue when it occurs — it’s about preventing the problem through regular care. The combination of Puyallup’s moisture-rich environment, older housing stock, and the daily demands of a busy household means that dryers work harder than they would in a drier climate. By following this step-by-step guide to fixing common dryer heating issues, you can identify the problem early and decide whether a DIY fix or a professional service call is appropriate. But for long-term reliability, nothing beats routine professional maintenance. Our certified technicians at Puyallup Appliance Repair are trained to handle every make and model, from budget-friendly units to premium European brands. We offer comprehensive dryer repair services that include thorough diagnostics, OEM parts, and a satisfaction guarantee. Whether you need a fast thermal fuse replacement, a heating element swap, or a detailed dryer vent cleaning to prevent future issues, we are the most practical and reliable service network in Puyallup. Don’t let a cold dryer disrupt your family’s routine — contact us today to schedule a service appointment.